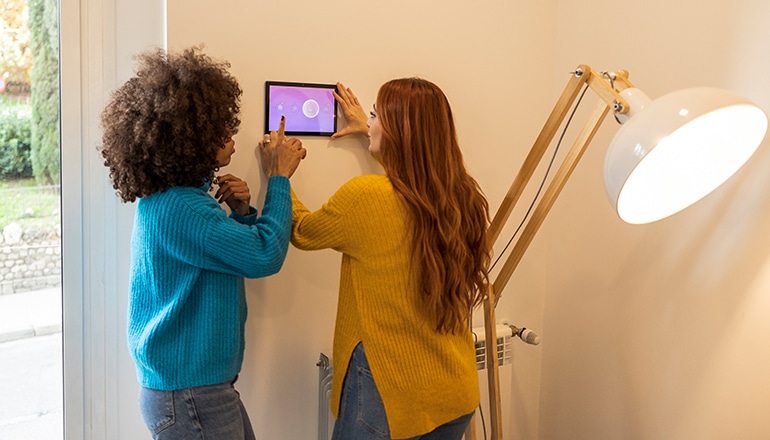
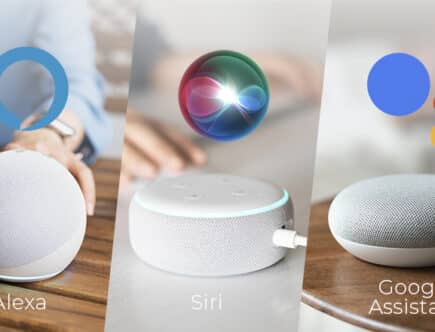
This guide will walk you through how to set up your smart home assistants like Alexa and HomePod Mini so that they’re mounted to your wall! We’re going on a simple, step-by-step process that shows you the best places to put these devices in your home.
What are we hoping to achieve with this guide, you ask? Well, it’s in making your smart home as useful and functional as it can be. Wall mounts are pretty slick to have, both for you and for your guests who come over as well and who don’t have constant access to your phone like you do.
I have tips and tricks that suit different mounting methods, both temporary and safe for renters or more permanent for those who are tech-savvy or not shy about some DIY construction projects. And don’t worry, I’ve made sure it’s about practicality and how good it looks in your home.
Learn to mount smart home assistants, like Alexa and HomePod Mini, on walls. Ideal placement usually in kitchen or living room, at eye level. Power supply, visibility, and reachability should be factors in placement. Tips are provided for different mounts, both temporary and permanent. Preferred placement depends on visibility, reachability, and aesthetics. Insights include mounting the Amazon Echo, Google Home, HomePod Mini, and a home assistant tablet. Importance is placed on regular upkeep of the device post-installation.
Find the Right Location for Your Assistant
Want to know where to put your smart home assistant? The answer is simple: the best place is usually the kitchen or living room – where the action happens. You can easily talk to the device in these bustling areas; think of controlling kitchen appliances or the living room TV. Having your assistant in the center definitely makes life easier!
Let’s talk about device height. Going for chin or nose level is a sweet spot. Why? It avoids strain. If your family is as different in height as mine, compromise is important! Options like Command Tape make temporary placement a cinch until you find just the right spot.
Power supply and wiring need consideration, too. You should make sure there’s an electrical outlet nearby, or at least plan how to extend a plug to your selected spot. Want to stealthily snake a USB-C cable around? You might need to hammer in some cable clips or do a bit of drilling – just remember to include these bits in your plan and make a note of how far your device is from the power.
Oh, and keep in mind: your assistant needs to be visible and reachable. It sounds like a no-brainer, I know! But it’s often overlooked, and it matters. The perfect spot means you won’t break a sweat trying to operate your assistant.
Let’s think about your existing smart home setup. Does your chosen spot for the assistant sync up with it? For example, if it’s near the entrance, you can easily control lights and security systems.
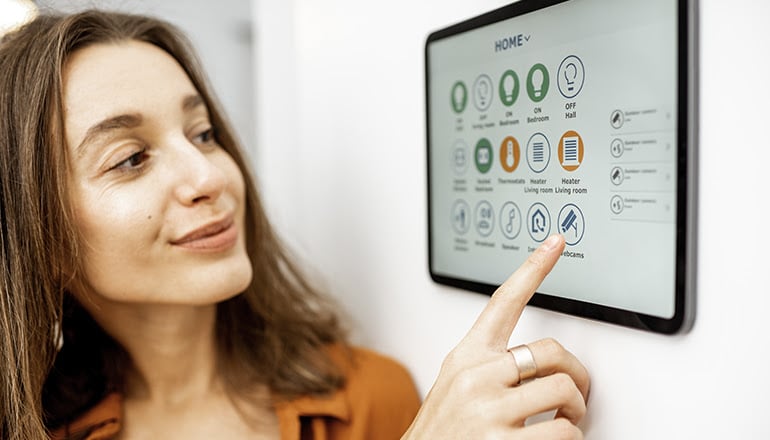
And here’s something I can’t stress enough – you have to think about looks along with practicality. The assistant should blend into your home effortlessly: inconspicuous yet easily at your disposal. I’ve noticed a lot of people liking slick tablets with kiosk apps for their simple elegance and easy use.
What’s the takeaway? Well, the “perfect” spot for a smart home assistant depends on a few things in a crowded house. Things like how visible your assistant is, how accessible it is, and, of course, its aesthetic appeal. In my opinion, getting the placement right can really boost the benefit of having a smart home!
#1: Mount The Amazon Echo
A space-conserving strategy is to mount your Echo Show on the wall. Here, the equipment is important: you need a drill, Phillips #2 driver bits, a hammer, a level, wall-friendly tape, and the mount kit that came with the device.
Where should you hang it? I think at eye level is best. Be careful, though – you want to avoid wall studs, wires, or pipes. Make sure the device is unplugged – who wants an electrical short? – and dry to dodge potential damage.
After deciding on a place, mark the drill points using the template provided. Check it’s straight with a level, then tape it to the wall; next, drill through the marks with your 5/16 inch bit. After drilling, take off the template, then hammer in the given anchors. Keep going until they sit flush with the wall.
Here’s an important bit: connect the power cord to your Echo Show before fastening it to the wall mount! Why? Because after installing, you can’t access this port. Align the mount with the anchors; screw it tightly with your Phillips bit. Make sure the heads of the screws end flush with the mount – it looks neater that way.
Next, slide your Echo Show onto the mount; make sure all hooks engage correctly. The camera of the device should be at the top. Just plug in the device to start off its functions.
Not a fan of drills? Adhesive methods – like Command Strips or Gorilla Heavy Duty Mounting Tape – are other options. Make sure whatever you choose can hold up your Echo Show 15 without damaging the wall or the device.
Side note: kitchen people might find it useful to use fridge-hanging mounts. Think about the Echo Show 15’s weight and the risk of wall damage when you remove adhesive products, though. Also, think about whether it’s safe from accidental bumps in high-traffic areas.
All done! Your Echo Show 15, securely on the wall, is ready to offer a variety of smart features to your home. In my opinion, this is a feat to be proud of – manual labor was completed, and no walls were damaged in the process!
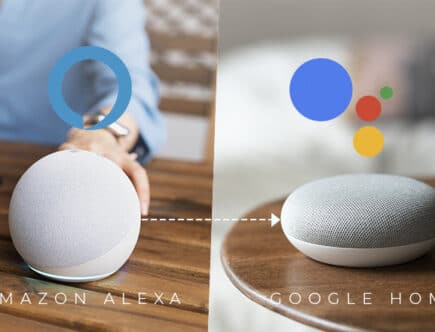
#2: Mount The Google Home or Nest Mini
When you want to set up a Google Home or Nest Mini, different strategies pop up. You’re probably weighing up things like how visible it will be, how easy to reach, and how good it looks. So, what’s the best strategy for your needs?
The Google Nest Mini comes with a built-in screw slot – a useful method. To make use of this, you need a #8 Pan Head screw, a wall anchor, and a screwdriver or power drill that has a screwdriver bit. Choosing a place within the variety of your network, ideally near a plug, helps ensure solid Wi-Fi connectivity.
Try out the device’s connection before you mount it by giving it a command while it’s plugged in. Follow the wall anchor’s instructions to the letter, then drive in the screw, leaving a 2mm gap between the wall and the screw head. Slip the device’s slot onto the screw, and boom! If tweaks are needed once mounted, the Google Home app lets you change the volume and light settings.
Got an aversion to drilling holes? Look at third-party wall mount holders. I’m quite keen on these user-friendly devices, which improve voice pickup and ensure easy accessibility – best of all, they keep your walls safe from harm.
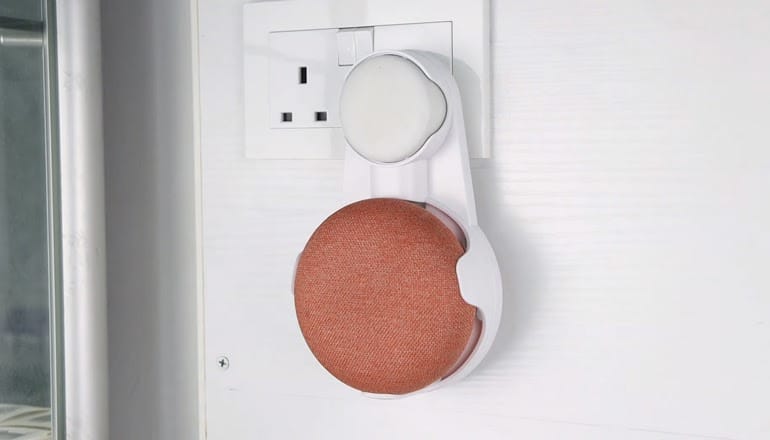
In my opinion, if you’re renting or your style changes frequently, a more flexible technique might be perfect. Temporary solutions could be just the ticket. Have you thought about using hook and loop fasteners or even mounts that plug into power outlets? These stay off the ground and neatly tuck away the cables.
For those not too keen on wall mounts, stands and pedestals made specifically for Google Home and Nest Mini are excellent picks.
#3: Mount The HomePod Mini
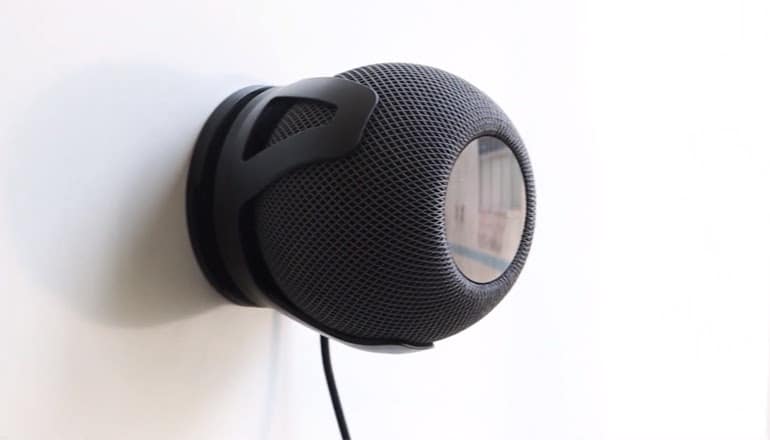
Go for a TotalMount compatible for a HomePod Mini installation if you’re seeking an almost invisible change. This mount earns its stars because it can be put up without having to whip out your drill; instead, it holds tightly with a reliable but capable-of-being-removed adhesive. Inside the box, you’ll find an impressive mount, adhesive strips (great for the temporary kind of setup), and screws for those dreaming of permanency.
Your HomePod Mini gets positioned for the most ideal sound output, and your wall gets a little respect. There’s also the option of the PlusAcc Wall Mount for HomePod Mini. Why choose this one, you ask? This one brings a firm locking feature to the table, coming from a snap-clip arm and an organized setting, thanks to the integrated cable management. The best part is that setting it up is very easy and doesn’t demand tools, with a stick-it-on choice available, too.
Looking for a strong blend of metallic style in mounts for HomePod Mini? Amazon has your back. Their ceiling/wall mount maneuvers with flexible compression rings. Also, they’ve thrown in cable management accessories for the neat freaks – a convenient choice for those who want a tidy and adjustable setup.
Have a conversation about DIY, and you can’t ignore 3D printing. Various platforms are packed with sleek 3D models for HomePod Mini wall mounts, like cable management. Really, who doesn’t dig the idea of customization and putting in a bit of elbow grease?
Deciding on the best mount comes down to – well, you. What do you need? Quick installation or a fix-it-for-life type? Or maybe a take-off without leaving a mark? Things like TotalMount and PlusAcc check both these boxes – easy to put up and clean to take down. Take a look at the options, and think about what you need concerning performance and the kind of look you’re after.
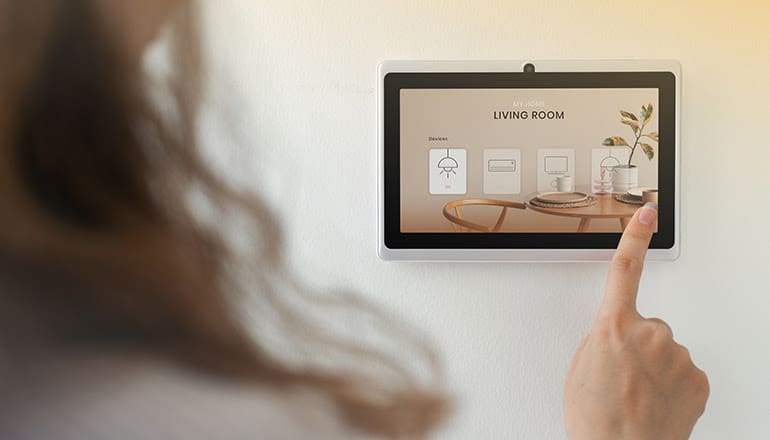
#4: Mount a Home Assistant Tablet
Improving user experience and saving valuable space is easy when you mount your home assistant – like Alexa from Amazon or Google Home – on the wall. You’ll want to kick off with pinpointing the just-right height and location for the mount.
A sweet spot? Right smack in the middle of your room, about five feet up. I believe this way; your sound gets captured and shot out effectively without messing with the assistant’s mics or speakers. This magic location lets your device pick up voice commands all over – no sweat.
Let’s not forget about power. Your assistant needs juice all the time, so avoiding places where the power cords stretch too much or dangle aimlessly is a must for a tidy look and safety, right?
You’ll need the right mounting gear to install, but don’t sweat it; standard screws usually come with the package. But let me throw in a word of caution: be careful while you’re drilling – you don’t want to hit water pipes or electric lines by accident!
Do you have drywall or wood walls in your home? Drilling is a piece of cake. But hold up if your walls are brick or concrete; you might need special masonry bits. Also, once you drill holes, you’ll also need anchors – and with brick or concrete, there are special masonry anchors.
Do you feel a bit jittery about drilling? Don’t worry! Think about adhesive mounts – they don’t mess up your wall and are a piece of cake to stick on. Renters, DIY newcomers, you’ll love ’em.
Once your device is solid on the wall, what’s my advice? Hide that power cable as best you can. Try some cable management tricks, like bundling or stashing the cord, to keep a neat and orderly setup.
Improve Your Home Assistant Setup
Every device comes with its unique set of instructions, right? You have to read the manual or the guide – that’s a no-brainer. Each assistant requires specific tools; even the best time to install can vary. And talk about options! You have anything from drilling to adhesive methods to even fun things like DIY 3D printing techniques. I suggest you pick the one that feels right and fits your needs.
Before you jump in, check for all the necessary tools and hardware. I’ve found that when you’re set up in advance, what looked like a huge useful suddenly appears possible – satisfying, even. Remember, the idea here isn’t merely to stick a device on a wall; you’re aiming to add to its use and give your home an aesthetic boost!
I can’t stress this enough: looking after your home assistant post-installation is just as important. These little wonders promise to last, but they need a little love, too. Clean them regularly, keep tabs on the temperature, And remember these software updates.
Mounting a home assistant on a wall can really up your smart home game. With all these tips and necessary information, I’d say you’re ready to kick-start this project! Please let us know how it goes, and if you have any questions, please drop me a comment! I’d be more than happy to help however I can!
Tom DeKoek, the lead strategist at Good Home Automation, possesses over a decade of expertise in technology and smart home. With a genuine knack for tech and an extensive history of troubleshooting, Tom has emerged as a trusted authority in home automation. Serving millions annually, Good Home Automation, under his guidance, provides precise, actionable advice, ensuring users overcome tech hitches and enjoy their devices to the fullest. Connect with Tom on LinkedIn