How to Install a Plex Server For Your Smart Home
I’ve seen firsthand how smart homes take daily convenience and customization to a new level, and a big part of that comes down to how we handle our media.
The star player for me has been Plex; this platform is incredible when it comes to organizing and streaming movies, TV shows, tunes, and photos right across all my smart devices. It basically takes all my content and puts it in one easy-to-find spot, turning my home into something straight out of a sci-fi movie.
So, how do you get Plex up and running in a smart home? Well, choosing the right devices that work with it is step one – there’s a bunch out there; you just have to know what you’re looking for. After you’ve got your gear, the next move is getting the Plex server all setup. This part is important for keeping your media library neat and your streams silky smooth. And don’t forget about keeping that server in tip-top shape; it’s important if you want to keep things running without a hitch.
Let’s talk about what it takes to set up a Plex server of your own and build your own personal streaming service that rivals that of services like Hulu and Netflix!
Pick (or Build) Your Hardware and OS
When I look at setting up a Plex server, I have to think hard about what equipment and system will work best in a smart home setup. I’ve narrowed it down to three main contenders: desktop computers that run on Windows, NAS (network-attached storage) devices, and the NVIDIA SHIELD. Each of these choices comes with its own set of benefits related to how flexible they are, their power, and how well they mix into a smart home.
Windows desktop computers are like Swiss Army knives – really versatile and packed with power, perfect for heavy-duty tasks, including changing video formats on the go. They’re pretty easy to get along with, and you can boost their abilities over time. The downside? They can dig a hole in your wallet and take up more space than you might like.
Moving on to NAS devices, these are the champions of not making a dent in your electric bill and saving space. They’re built to store and stream without being an eyesore or hogging all the power. But if you need to constantly switch up video formats, they might not be your first pick unless you’re willing to shell out for the pricier models that can handle it.
Then there’s the NVIDIA SHIELD – small but mighty in terms of energy efficiency and super easy to stick into your living room setup without it sticking out like a sore thumb. It does an okay job at switching up video formats, so it’s pretty handy if your media server requirements aren’t too complex.
Choosing the right one really comes down to what’s important to me, like how much sharing I’ll be doing and if I need my server to convert video formats for different devices. If I need a powerhouse that can handle a ton of format conversions because everyone in the house has different needs, I might lean toward a Windows desktop for its muscle and flexibility. But if I’m trying to find a sweet spot between keeping it smart and home-friendly and not spending too much, I might think about a NAS device or the NVIDIA SHIELD as good options.
From my perspective, if you’re someone whose media collection is always growing and changing, the knack to upgrade and adapt to a Windows-based desktop could be incredible. It just makes managing everything so much easier and really improves the user experience. For me, it’s making sure the system can keep up with my needs and play nice with my smart home devices.
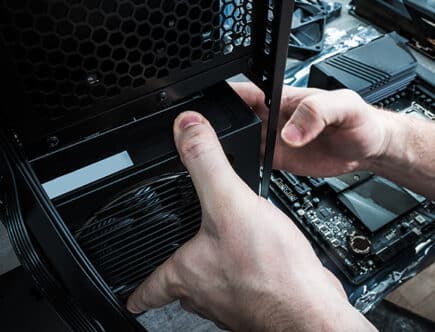
Install Plex Media Server
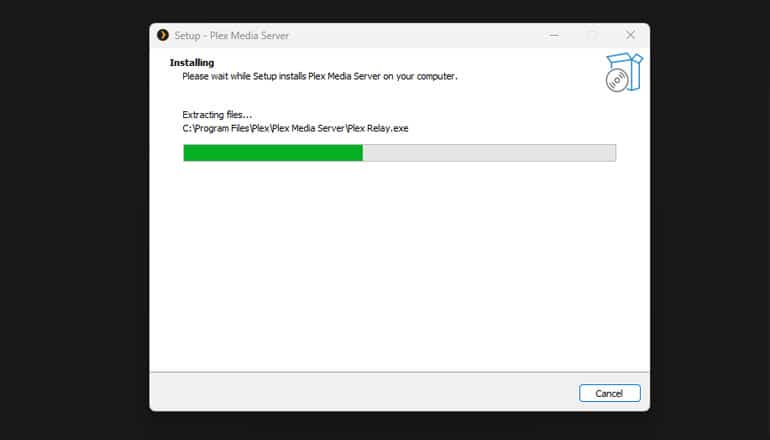
I decided to set up a Plex Media Server on my Windows computer, and boy, it has changed my smart home entertainment game! All my media content is in one place; can you imagine the convenience of accessing everything from any device?
The process began with me grabbing the Plex installer from their official website, specifically the one for Windows. After the download, I ran the installer, agreed to the terms, and picked where on my computer I wanted Plex to live.
The next step wasn’t too hard; I just had to sign in or set up a fresh Plex account – this is important for keeping all my settings and preferences in sync. Plex’s setup wizard then took the stage, asking me to name my server and start adding folders for movies, TV shows, music, and photos to my library. It’s amazing how Plex can pull in thorough information for all these files, which makes everything super organized and easy to find.
Oh, I’ve got to tell you – navigating Plex turns out to be very easy for me; my media libraries just line up on the left, which makes it so simple to jump into adjusting my account settings and library details right from the top. How cool is it that with a few clicks, I can change my server’s name, change who gets to access what, and fine-tune my library settings? It’s like I have this superpower to tailor everything exactly how I want it. Having this level of flexibility really means I can make it all fit like a glove for my needs.
What really gets me about Plex is its knack for neatly organizing all my media with all sorts of info, which makes finding what I want to watch or listen to a piece of cake.
Thanks to Plex on my Windows computer, talking about my media collection has never been easier – talk about an incredible for my smart home entertainment! Being able to jump into my media from any device that has Plex just ties everything together so nicely, providing a seamless and well-organized experience.
Connect Your Media Libraries
I’ve personally seen a huge shift in how we enjoy media across different devices, all thanks to Plex and its ability to restructure our viewing and listening habits. So, how do you start making the most out of Plex? Well, you begin by sorting all your media into specific folders – think Movies, TV Shows, Music, and Photos – on your computer or hard drive. This initial step is key; believe me, without it, Plex wouldn’t be able to neatly arrange everything and make sure we quickly find what we’re looking for.
Isn’t it amazing how a simple organizational step can make such a big difference in how we enjoy our media?
When it comes to movies and TV shows, sticking to Plex’s naming rules is important. We label movies with their title and release year – think “Jaws (1975).mkv,” and for TV shows, it goes “The Office – S01E01 – Pilot.mkv.” This setup makes sure everything fits right in its place, letting Plex pull in cool extras like summaries, artwork, and viewers’ ratings.
What about music? We keep tracks organized by artist and album, which lets Plex gather up all sorts of details (even the lyrics and album covers). And photos? Grouping them by date or event makes flipping through our memories very easy.
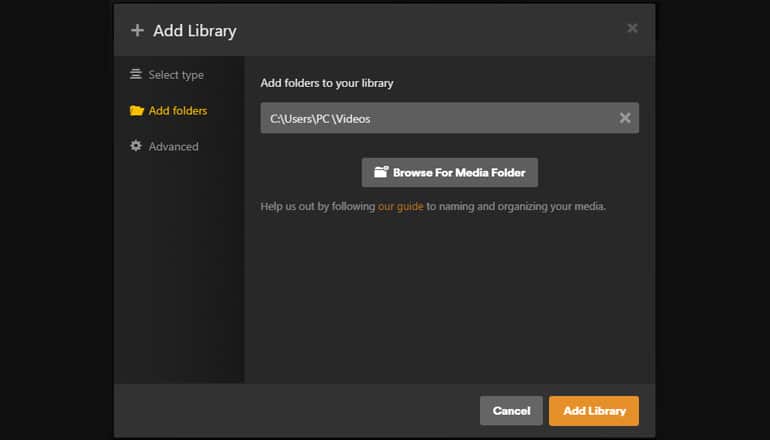
Next up is adding these well-ordered files into Plex. We hop onto Plex’s web interface, hit “Libraries” on the sidebar, then “Add Library.” Choosing what type of library we’re setting up, naming it, and pointing Plex to our carefully arranged folders kickstarts the magic – Plex starts indexing our media for super easy access on any device.
Is there stuff that doesn’t fit the usual categories? No problem; a “Miscellaneous” library catches all the oddballs, keeping our main libraries clean and organized.
I make it a point to keep my Plex server fresh – always adding new content and getting rid of the old stuff; it’s really important for a slick streaming experience. I’ve found that following Plex’s organization rules is a game-changer; it actually helps the system find and categorize everything efficiently, turning media management and boosting our viewing parties into a simple task.
Configure Server Settings for Performance
I’ve found that changing the settings on my Plex server really ramps up its performance. I’m talking about things like changing how it transcodes media files, who can access what, and making sure I can get to my movies and shows even when I’m not at home. When it comes to transcoding, which is just tech speak for making sure videos play nice on whatever device you’re using, I’ve got a bit of advice. If you’ve got a beast of a computer, you might want to try the “Make my CPU hurt” setting; it’s perfect for crystal-clear streaming, but watch out if you’re playing 4K videos. On the other hand, if your setup isn’t as powerful, stick with the “Automatic” setting to avoid overworking your hardware.
Let’s chat about user access and security. By setting up profiles, I can make sure everyone gets to watch what’s right for them and keep my library safe from prying eyes. Also, with remote access – which might need some fiddling with your network settings like port forwarding – I can talk about my media collection from anywhere. Of course, it’s super important to use strong passwords and keep everything up to date to dodge any security headaches.
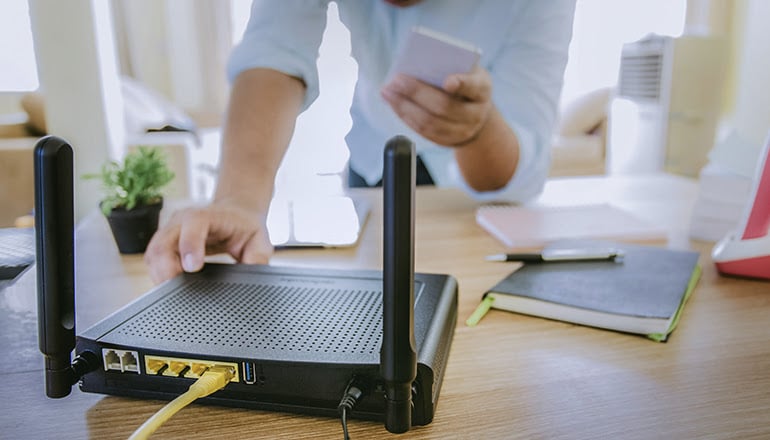
Don’t even get me started on how really important a solid internet connection is! Have you ever tried watching something, and it keeps buffering? Total mood killer. I’ve boosted my internet service and tweaked my router’s Quality of Service settings, which basically means Plex gets VIP treatment in my house.
Honestly, being able to tap into my media stash from anywhere has been incredible. Sure, it took a bit of effort to get everything set up just right, but the payoff – oh, it’s worth it. Think of it like tuning up a car; a bit of effort goes a long way toward getting that smooth, uninterrupted streaming experience that makes movie night so much better.
So, wrapping this up, nailing the right setup with my Plex server – talking transcoding adjustments, buttoning up access, sorting out remote connections, and giving my network a nudge – has made a world of difference. And keeping everything secure with tough passwords and updates is the cherry on top. It’s kind of like souping up a car; a few tweaks here and there, and you’re set for the best road trip ever – with all your favorite movies and shows a click away!
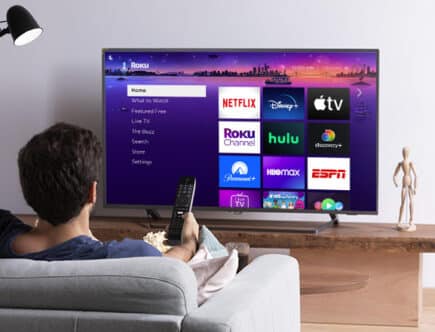
How Do You Integrate Plex With Your Smart Home Devices?
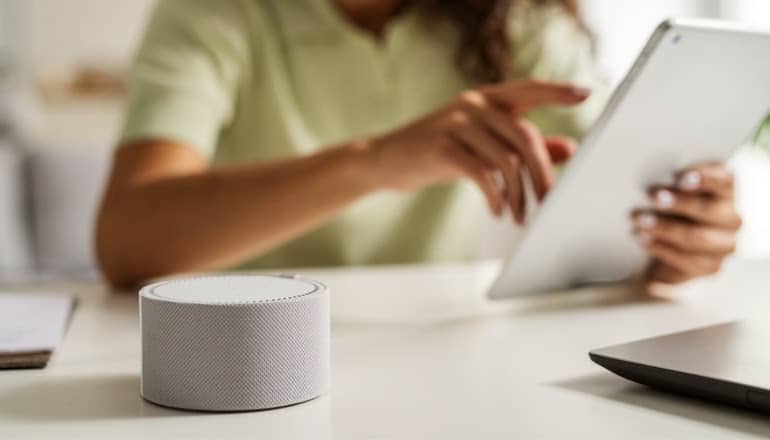
Plex transforms the way we handle media once it’s connected to devices like Amazon Alexa or Google Home – it requires linking Plex via the appropriate app. This arrangement simplifies media control to voice commands; who still relies on physical buttons these days?
For those with Amazon Alexa, the starting point involves adding the Plex skill via the Alexa app. Once the Plex and Amazon accounts are connected, you can just tell Alexa to play whatever you’re in the mood for by saying things like, “Alexa, ask Plex to play [desired content].” You can control your media – play, pause, or stop – without lifting a finger.
If you’re team Google Home, connect Plex through the Google Home app for a similar level of voice command control. Imagine basically saying, “Hey Google, play the next episode of [TV show name] on Plex” and immediately diving back into your favorite series. How cool is that?!
The mix of Plex and smart home tech really takes your entertainment experience to another level; envision yourself walking into your living room and kicking off movie night with a voice command – futuristic, isn’t it? For everything to work smoothly, make sure all your devices are on the same network as the Plex server, and double-check that everything is Plex-compatible by visiting their official websites.
I think the sheer convenience and modern feel of controlling media with just voice commands is a big leap forward for home entertainment.
So, what’s the bottom line? Linking Plex with your smart home devices simplifies how you engage with your media, offering an upgraded and more efficient entertainment setup. Making sure your devices are on the same page and connected properly is important to enjoying this seamless experience. This tech synergy adds convenience and revolutionizes the way we experience media at home. Isn’t that something to get excited about?
How to Configure and Customize Plex
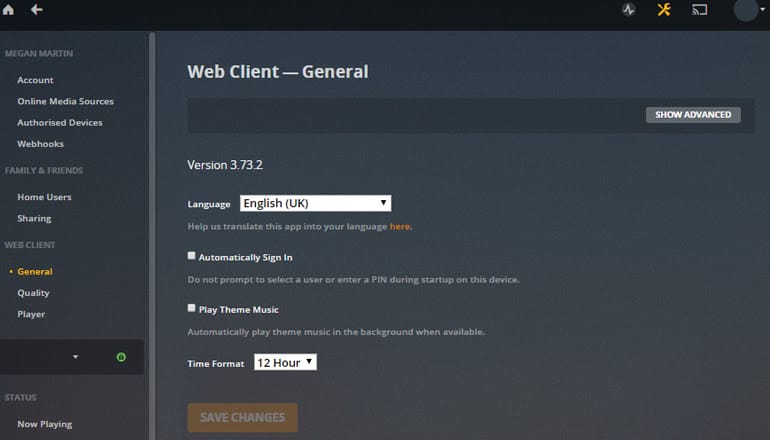
I decided to upgrade my Plex system, and wow, did it make a difference in my home entertainment setup? Let’s talk about the Plex Web interface first – I hit the settings icon, and bam, a whole world of customizable features opened up. I clicked “Show Advanced” in the Web Client section. What do you know? I found more cool settings; one that stands out is the “Reset Customization” in the General category – super handy for giving the sidebar navigation and the home screen layout a fresh look.
I found tinkering with my media libraries way easier by hitting the Edit button on the sidebar; it basically lets me spotlight my favorite movies and shows without breaking a sweat.
On a bigger screen, using the “Reset Home Customization” option in the User Menu makes the Home screen look brand new; adjusting the Plex Media Server settings just right means I get to my favorite content faster, which makes the whole viewing experience slicker.
And here’s something cool – using the “Reset All Customizations” feature in the mobile apps feels like getting a brand-new device; changing the sidebar also makes finding my way around the app very easy.
The Plex Pass subscription really takes things up a notch by adding advanced features that smooth out the streaming process, no more buffering! With Plex Pass, streaming media on devices like the Amazon Firestick or an Android TV Box is a piece of cake, letting me enjoy my collections basically anywhere.
So, I really think getting a Plex Pass is a smart move for anyone serious about boosting their media experience; it very elevates the whole viewing game.
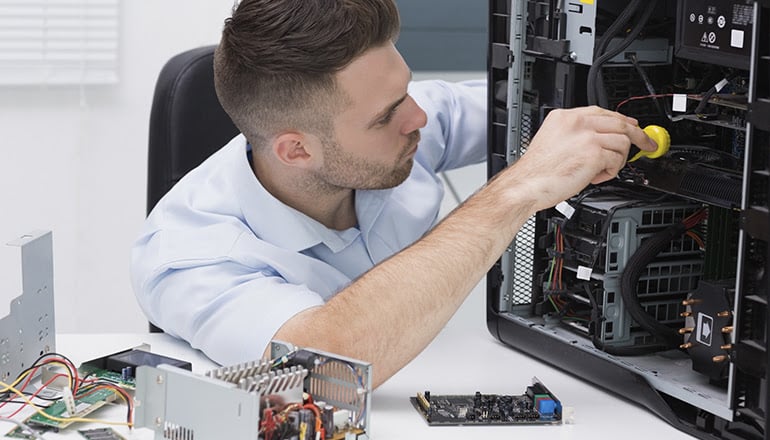
Maintenance, Security, and Upgrades
I’ve got a pretty solid grasp on the ins and outs of running a Plex server; we’re talking both the gear under the hood and the software that makes it all tick. Keeping everything up to date is a big deal – it’s making sure we can stream smoothly without a hitch. Those updates? They’re not just about blocking hackers; they also bring cool new stuff that makes Plex even better.
When it comes to keeping the server in tip-top shape, you can’t sleep on the hardware or the software side of things. I like to have a checklist for regular check-ups; this way, nothing slips through the cracks – cooling stays efficient, connections stay tight, and our streaming goes on without a pause.
Security’s a big deal for me, so I bring out the big guns: a VPN and SSL certificates. How does a VPN work? It’s like a cloak of invisibility for the server, keeping sneaky eyes out. And those SSL certificates? They’re the handshake that says, ” it’s really me,” building trust that the data’s locked down tight. Here’s a guide on how to keep Plex secure.

I’m keeping both the software and the hardware fresh. Doing this keeps the streaming silky smooth for everyone and makes sure our virtual hangout is both safe and speedy, keeping everyone smiling.
Stay diligent with Plex updates and security, and you will dodge those annoying interruptions. Also, it sets up a safe space for everyone to share and discover cool stuff, proving just how important it is to stay on top of Plex server care.
Let’s wrap it up, shall we? Staying on top of maintenance is important – nobody wants to hit a snag or feel cautious about hanging out in our clubhouse. It’s consistent, secure upkeep to guarantee the best Plex hangouts ever!
What do you think of Plex? Did my guide help you set it up? Please let me know in the comments below!