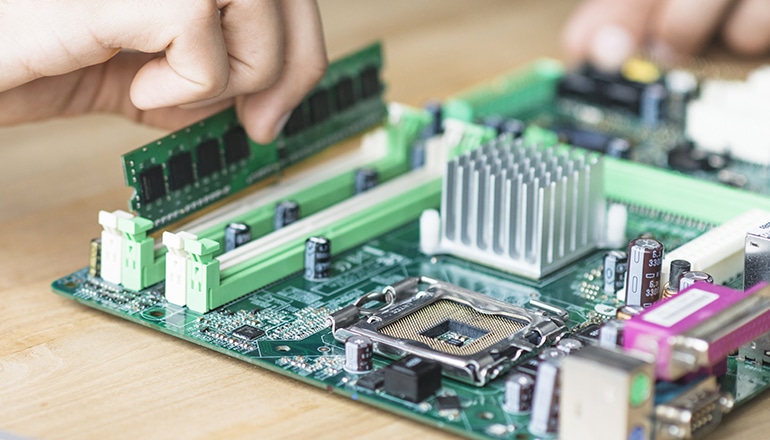
Raspberry Pi is your favorite for creating cool smart home projects without breaking the bank. Imagine whipping up your own system to flick your lights on and off or setting up a security system that keeps your home safe. The possibilities are pretty much endless.
What’s great is they’re affordable and tiny. You can tuck them into the smallest of spaces, even a plain old box. Whether you’re looking to give your lawn a bit of TLC, secure your Wi-Fi, or take charge of your smart home with Home Assistant, Raspberry Pi has got you covered.
Let’s talk about some awesome projects you can start with your Raspberry Pi.
Raspberry Pi offers an economical and customizable option for a range of smart home projects. You can develop your home automation center with Home Assistant, establish smart lighting control, or devise a personalized security system. Consider creating a voice-controlled assistant, or an energy-saving smart thermostat. Raspberry Pi can transform into a media center with Kodi, function as a smart mirror, automate garden irrigation and monitor air quality. Also, it can automate your garage door, providing secure yet convenient access.
Create a Home Automation Center With Home Assistant
Ready to talk about the space of smart home magic with Home Assistant on a Raspberry Pi? Here’s how to kick things off: grab the Home Assistant image, pop it onto your SD card, fire up your Raspberry Pi, and hook it up to your network.
Bam! You’re on your way to building your own smart home center.
Next up, let’s and the like things up by adding some devices. Think lights, locks, sensors – you name it. With Home Assistant’s knack for playing nice with a bunch of different brands and protocols, you’re spoiled for choice. Plus, the interface is very easy to navigate, which makes it a piece of cake to get your devices online and make those clever automation rules. Want your lights to switch off automatically when a room’s empty or the door to unlock when you’re nearly home? Easy peasy with Home Assistant and a Raspberry Pi.
And guess what? You’re not glued to switches and buttons; give those voice commands a go or use the mobile app to check in on things from anywhere. Whether you’re soaking up the sun on a beach or stuck in the office, your smart home’s a tap away.
One of the coolest things about Home Assistant? It’s open-source, backed by a community of fellow smart home enthusiasts. Whether you’re just starting out or you’re a bit of a tech wizard, this crowd’s got your back. Thanks to its open nature and a massive list of compatible devices, your smart home can grow and adapt with you – talking about keeping things fresh!
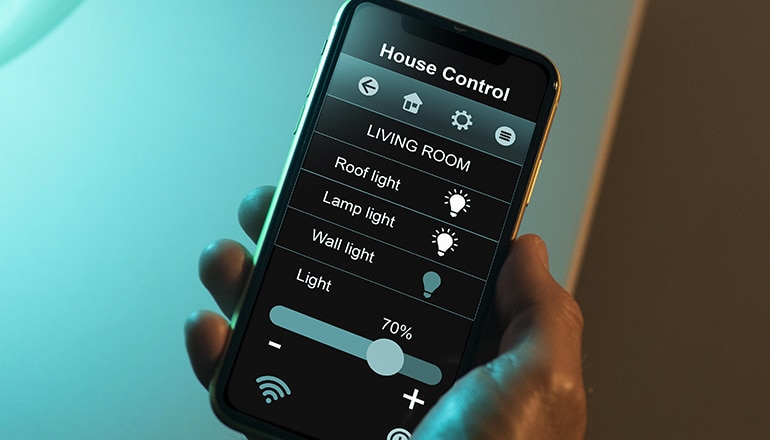
Set Up Smart Lighting Control
Making your house lights flip on and off without you lifting a finger and cutting down on your energy bill sounds like a win-win, right? You can totally make that happen with a Raspberry Pi. Start by grabbing a Raspberry Pi and some relay modules to control the lights. Then, think about how fancy you want to get – do you want lights that turn on with movement or when it gets dark? Depending on your tone, pick up some motion detectors or light sensors.
With a bit of programming magic, your Pi will have those lights turning on or off at the times you tell it to. Imagine walking into a room, and the lights just know to turn on. That’s what adding motion sensors can do, not to mention it’ll help you save a pretty penny by cutting down on energy waste.
Feeling adventurous? Why not take it up a notch by controlling your lights with your phone, tablet, or even a portable switch? Here, you’ll need to get your Raspberry Pi connected to Wi-Fi and choose a home automation platform, like Home Assistant or OpenHAB. These tools let you get creative, like setting the mood with dimmed lights in the evening or having the hallway light up when it detects you are home.
For the tech-savvy, there’s room to play around with algorithms that adjust the lighting based on who’s home, the time of day, or whether the sun’s decided to show up. This part might need you to talk about some coding but with the help of Python scripts and libraries like RPi.GPIO and PyLight, you’re all set to make your smart bulbs do your bidding.
It’s super important that your lighting system can keep up with the speed of life, instantly reacting to what your sensors are picking up. Throwing MQTT into the mix will make sure your Raspberry Pi talks fast and with your sensors and switches.
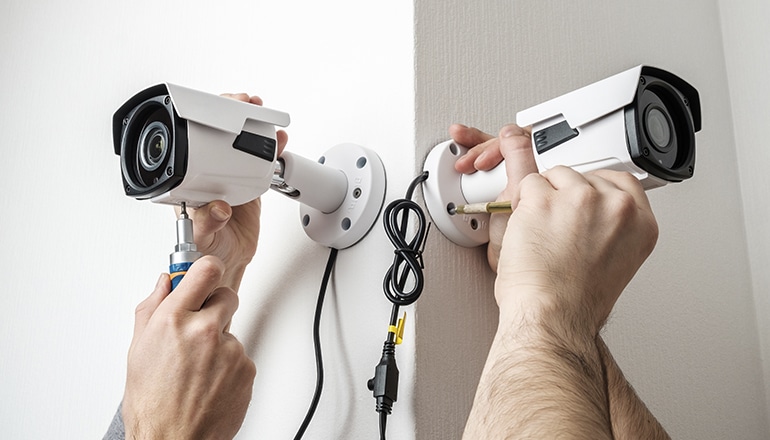
Implement a Smart Security System
The process of kicking off your very own home security system with a Raspberry Pi isn’t as a bit scary as it sounds. Start simple: get those sensors up on your doors and windows. They’re your first line of defense, sending alerts straight to your phone or email the moment something’s amiss.
Next up, why not throw in a doorbell camera? This little addition lets you check out who’s ringing your bell, no matter where you are.
If you’re feeling a bit more adventurous, how about stepping up the game with facial or license plate recognition? This is where things get fun. With some Python coding and a dash of OpenCV magic, your Raspberry Pi changes into your personal bouncer, deciding who gets in and who doesn’t, all based on their face or car.
And let’s not forget about keeping an eye on things. Adding cameras that stream live video means you can peek into your home anytime, from your phone or computer. To keep from drowning in video files, set up motion detection. That way, recording kicks in only when there’s actual movement.
All these useful devices need a way to chat with each other quickly, right? That’s where MQTT comes in, which makes sure your alerts are as fast as a courier.
For the cherry on top: security for your security. It sounds a bit meta, but encrypting your data and choosing tough passwords is important. After all, what’s the point of a fancy security system if it’s easy to hack?
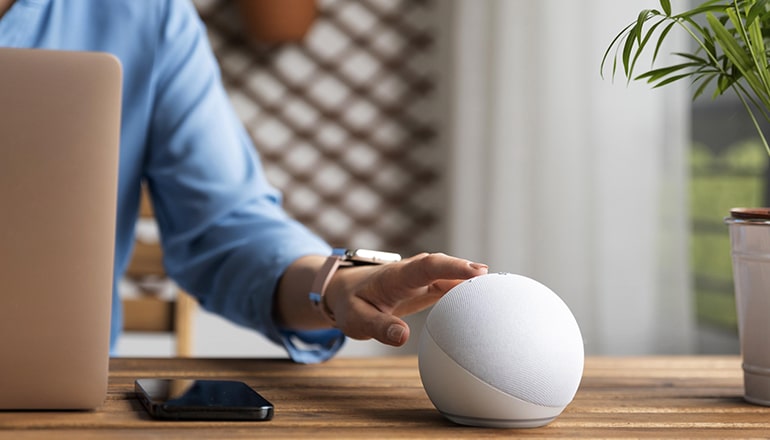
Why Think about a Voice-Controlled Assistant?
Want to make your Raspberry Pi as clever as Google Assistant or Amazon Alexa? The idea here is in making life easier with tech. Grab a microphone and a speaker – you’ll need these so your Raspberry Pi can hear you and talk back. Follow the setup steps from Google or Amazon, and you’re both asking it for the weather; you’re telling your house what to do, like dimming the lights or turning up the heat.
Using your voice to control your home tech is super convenient. It means anyone can use it, hands-free, whether you’re cooking, doing a bit of DIY, or if you just can’t reach the remote. Sure, it might look a bit difficult to set up at the start but don’t worry. Google and Amazon have clear instructions to guide you through it.
Upgrade Your Home With a Smart Thermostat
Building your own smart thermostat with a Raspberry Pi has many uses – it’s a fantastic way to make your home feel just right and could even knock a few dollars off your energy bills. You’ll start with reliable temperature sensors like the DHT22 or DS18B20, easily hooking them up to your Raspberry Pi with those useful GPIO pins.
Next up, you get to talk about some code, specifically Python. Don’t worry if you’re new to it; Python is pretty friendly for beginners. With a bit of coding magic, you’ll teach your Raspberry Pi to adjust your home’s temperature on its own, just like those fancy thermostats – Nest or Ecobee, anyone?
You can even get fancy and have your DIY thermostat think about things like the weather outside or what time it is, so you can always walk into a perfectly cozy home without wasting energy or money.
Speaking of money, putting together your own thermostat is usually way cheaper than buying a high-end one. And the best part? You get to change everything to suit exactly what you want. Say goodbye to being too hot or too cold, and hello to just right.
Turn Raspberry Pi Into a Media Center With Kodi
Turning your Raspberry Pi into a smart TV is easier than you’d think. It starts with Kodi, which is awesome, free software that lets you do just that. Let me walk you through the steps:
First up, get your Raspberry Pi updated. It’s easy – just open the terminal and punch in “sudo apt-get update” followed by “sudo apt-get upgrade.” Next, let’s get Kodi onto your Raspberry Pi. Type “sudo apt-get install kodi” into the terminal. Once Kodi is installed, you can kick it off from your application menu or just type “kodi” in the terminal.
And there you go, you’re all set to make your smart TV yours. Kodi opens up a whole playground of local files, videos, music, photos, and even lets you tap into various streaming services. Love movies or binge-watching series? Kodi’s got you covered.
Thinking about giving your setup a bit more juice? You might think about overclocking your Raspberry Pi. Just keep an eye on the temperature to keep things cool. Also, choosing a simpler skin for Kodi can make it run smoother, especially on older Raspberry Pi models.
Here’s a thought on saving some dollars. Choosing a Raspberry Pi and Kodi combo can save you a nice chunk of change compared to splurging on a brand-new smart TV or streaming device. I’m talking about the savings, though. It’s about embarking on a DIY project that lets you customize your entertainment experience to your heart’s content.
How to Build a Smart Mirror
Building a smart mirror with a Raspberry Pi doesn’t have to be rocket science. You just need a Raspberry Pi, a two-way mirror, an LCD screen, some cables, and a frame to kick things off. Make sure your show and screen are roughly the same size to get that clean look people love.
First up, place the screen snug behind the two-way mirror. This setup lets your display shine through the mirror when switched on and keeps it looking like a standard mirror when it’s not. A frame comes in useful here to bind them together and keep your setup looking sharp and in line with your room’s tone.
Next, let’s talk about the software bit. Pop Raspbian onto your Raspberry Pi to get things rolling. Then, scout for some useful open-source software customized for smart mirrors. MagicMirror² is an option – it turns your Raspberry Pi into a personal info center, showing weather, news, what’s next on your calendar, and loads more, all on your mirror.
Hooking up the software means connecting to Wi-Fi, slotting in the really important pieces, and changing settings to show info that catches your fancy. If you’re thinking, “This sounds difficult,” no sweat – there’s a massive community of Raspberry Pi fans out there. They have forums and guides to walk you through it step by step.
Automate Garden Irrigation With Raspberry Pi
Turning your garden into a self-watering oasis with a Raspberry Pi is smart; it’s a big step towards being kinder to our planet. Here’s how you can get started: connect some moisture sensors to your Raspberry Pi. These little devices are going to be your eyes in the soil, letting your Pi know when it’s time to water or when to hold back. Then, add solenoid valves into the mix. These are the control gates for water flow, working on Pi’s command, which makes sure your plants drink when they’re thirsty and not a moment too soon.
The magic happens when you marry hardware with a sprinkle of software – making a Python script that listens to what the garden sensors are saying about the soil’s mood. Is it dry and pleading for a drink? The script cues the valves to open up and quench that thirst.
Is the soil doing just fine? Then, no water is wasted. This way, you’re both keeping your garden happy but you’re also saving water and money.
Monitor Air Quality in Your Home
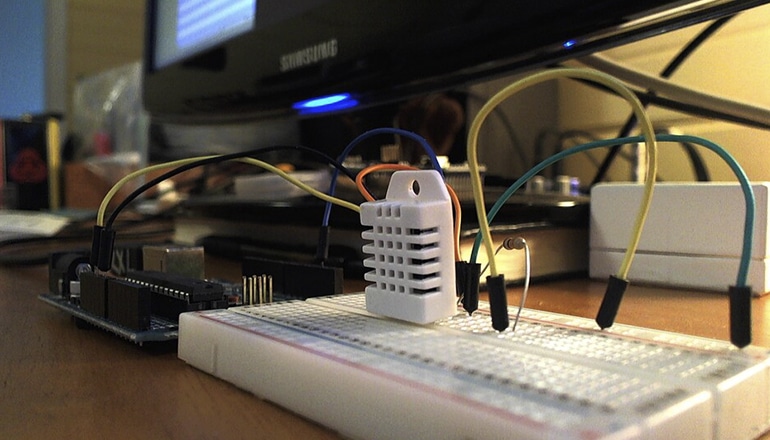
Keeping an eye on the air we breathe in our homes is becoming a big deal, especially as we all get more clued up about staying healthy and looking after the planet. And guess what? With something as cool and flexible as a Raspberry Pi, getting into the specifics of monitoring your indoor air quality turns out to be pretty doable. It’s a neat way to see what’s going on with the air right where you live in real-time.
First up, you have to choose the right sensor for the job. Let’s say you go for the SDS011 sensor; this little helper is awesome for spotting the tiny particles (think PM2.5 and PM10) floating around.
Or, there’s the BME680 sensor, which is great for sniffing out a mix of pollutants like those sneaky volatile organic compounds (VOCs). Hooking these sensors up to your Raspberry Pi is very easy, thanks to the simple setup via the GPIO pins.
Next, let’s talk about the data. You’ll be getting cozy with Python scripts on your Raspberry Pi’s Linux setup. A useful tool for this part is the Enviro+ Python library by Pimoroni. But grabbing data is just the start. The real game-changer is using what you learn to make your air at home much fresher and cleaner.
So, why bother checking your air quality? For starters, to stay healthy. Poor air can mess with your lungs, heart, and even your brain power. Knowing what’s in the air at home means you can make smart moves like picking the best times to air out your place or choosing an air purifier that’s right for you, all to keep you in top shape.
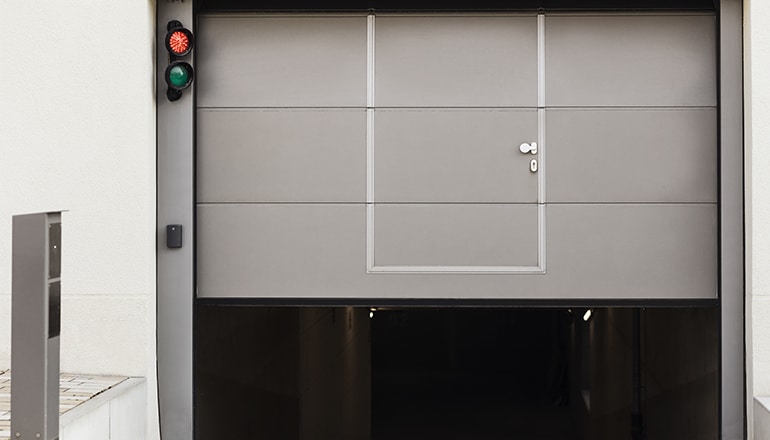
Automate Your Garage Door With Raspberry Pi
Turning your garage into a smart entryway with a Raspberry Pi has many uses, and it’s smart and secure.
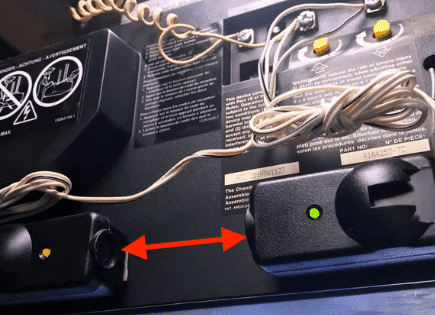
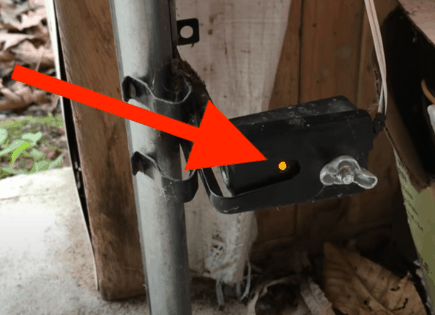
Here’s what you’ll need: a Raspberry Pi, something to control the garage door like a relay module, and a magnetic sensor to check if the door’s wide open or shut tight. First off, hook up that relay module to your Raspberry Pi. Think of it as the magic button for your garage door.
With a magnetic sensor in the mix, you always know if your door is playing it safe – closed – or if it’s left ajar, inviting trouble. It’s like having eyes on your garage door without actually needing to check.
Want to make life even easier? Get your garage to open up the moment your car rolls up, courtesy of ultrasonic sensors or IR beams. And if you’re into devices, adding a camera and tossing in some computer vision magic like OpenCV lets your system recognize your car by its license plate alone. How cool is that?
Picking the right gear that plays nice with your Raspberry Pi and meets your needs is important. Make sure your camera’s sharp enough to spot license plates, and your computer’s up to the usefulness of crunching that data fast.
Safety is big, too. Have a manual override, which is useful, and make sure the door stops if it hits an obstacle. Keep your remote commands locked down with encryption and hitch your system to a secure network to keep the tech-savvy burglars at a distance.
What did you think? Which project are you going to start first? Please let me know in the comments!
Tom DeKoek, the lead strategist at Good Home Automation, possesses over a decade of expertise in technology and smart home. With a genuine knack for tech and an extensive history of troubleshooting, Tom has emerged as a trusted authority in home automation. Serving millions annually, Good Home Automation, under his guidance, provides precise, actionable advice, ensuring users overcome tech hitches and enjoy their devices to the fullest. Connect with Tom on LinkedIn