How to Change Input on Roku TV (3 Methods!)
If you connected an external device to your Roku TV, like a sound bar, cable box or gaming system, and you’re wondering how to access it, you’re not alone.
Changing the input on your Roku TV isn’t as simple as clicking “SOURCE” on your remote, like other TVs. Here’s how to change the input on a Roku TV…
 Quick Summary
To switch inputs on a Roku TV, navigate to HOME > SETTINGS > TV INPUTS > SET UP INPUT. Customize the name of the input to match the connected device. Locate it on your home screen for easy future access. Without a remote, use buttons on the Roku TV or the Roku app on your phone. If inputs are missing from your home screen, connect a device to the relevant port or set up input manually.
How to change input on Roku TV using remote
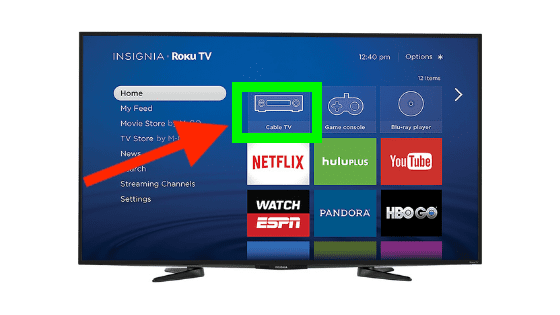
To change input on your Roku TV you first have to “SET UP INPUT”. To do this go to HOME > SETTINGS > TV INPUTS > and select SET UP INPUT on the input you want to switch to. This adds the input as a tile on your Roku home screen.
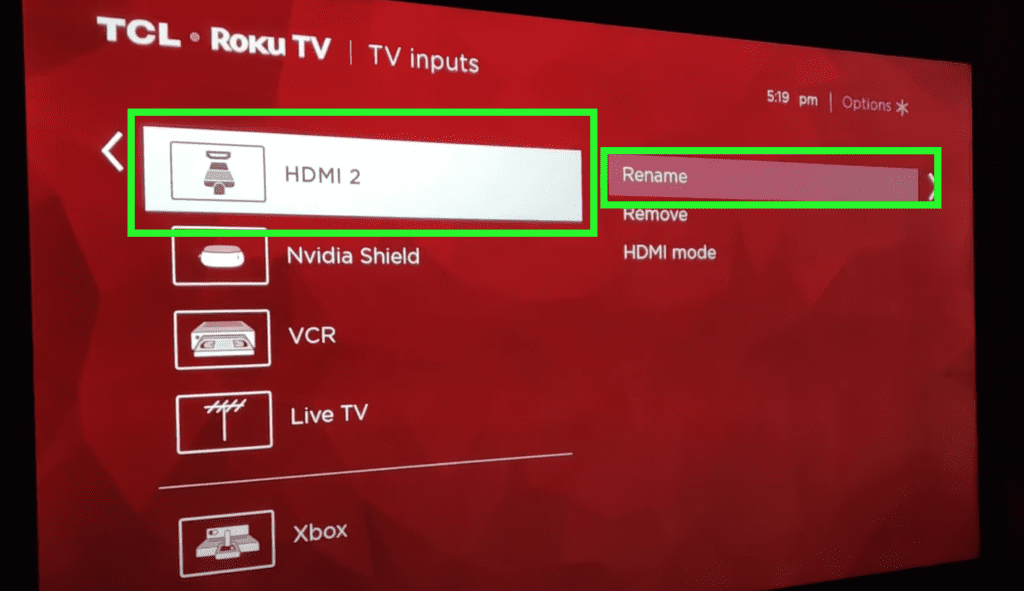
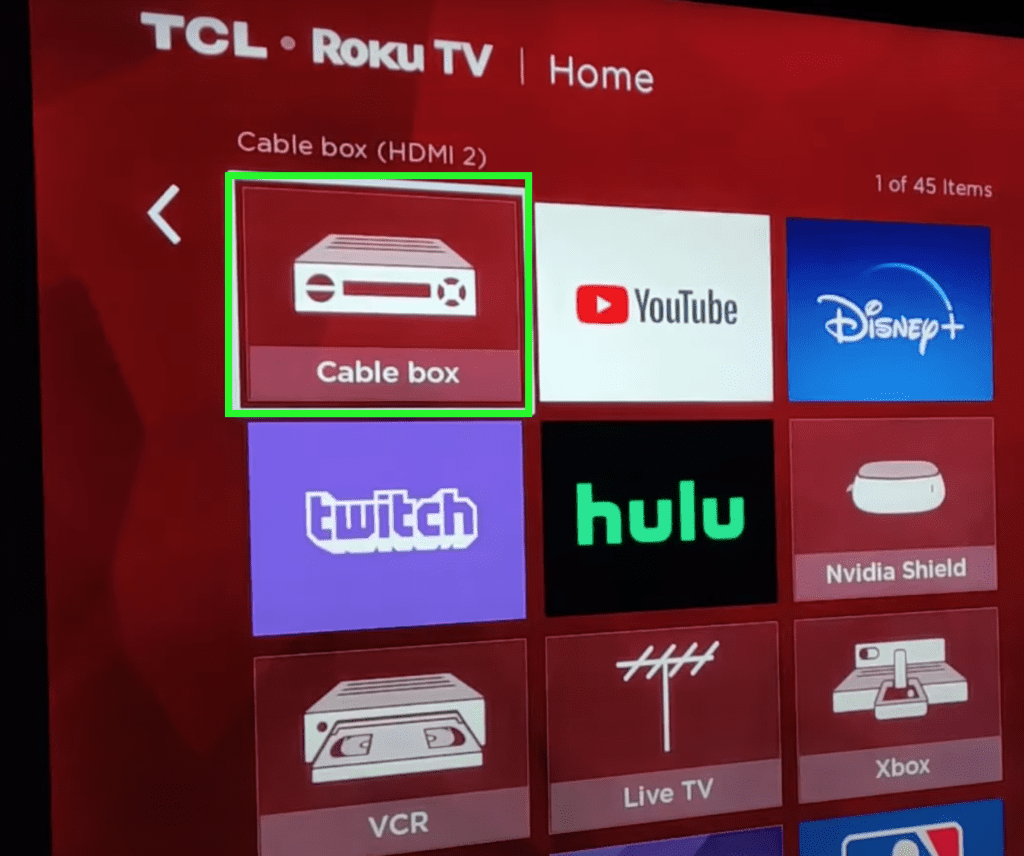
All you have to do is go back to the home screen and click on this tile to change inputs! But before you go back to HOME, you should rename the input to the exact device that is connected.
So for example, if your Cable Box is connected to HDMI 2, you should RENAME the HDMI 2 input to “CABLE BOX” and add this as a tile to your Roku home page.
The next time you use your Roku, you just have to go to HOME > CABLE BOX in order to change the input to HDMI 2 (aka your Cable Box)! You can do this for your sound bar, DVD player, gaming console, etc.
I really suggest you take the time to set this up, especially if you have a lot of connected devices. It removes the guess work of trying to remember the exact HDMI port you’re looking for next time.
Note that the last input you add to the Roku home screen will be added as the first title when you go back to HOME. You can easily rearrange your home screen to group all your input titles together by doing the following:
Go to HOME and then navigate to the tile you want to move and press the asterisk (*) button and select MOVE CHANNEL. Use the arrows on your remote to move the tile and press OK when you want to save the location.
Repeat this for every title you want to move!
How to change input on Roku TV without remote
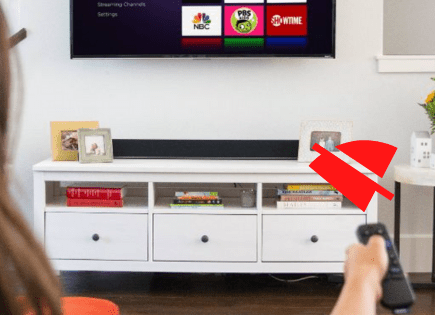
The instructions above really only work if you have your Roku TV remote. But what if you misplaced it, or its not working?
Luckily there are a couple different ways to change the input on your Roku TV, without your remote.
The most obvious workaround is to use the buttons directly on your Roku TV. But first you need to locate where those buttons are. These are four main places to look:
- middle, underside of the TV. If it’s not there check
- back of TV, right side
- back of TV, left side
- front left, underside
Once you’ve located your Roku TV button(s), take a closer look and see exactly which buttons you have. Some Roku TVs have a single button, others have a power button and directional buttons.
The way you implement the following steps to change your TV’s input will vary slightly depending on which buttons you have:
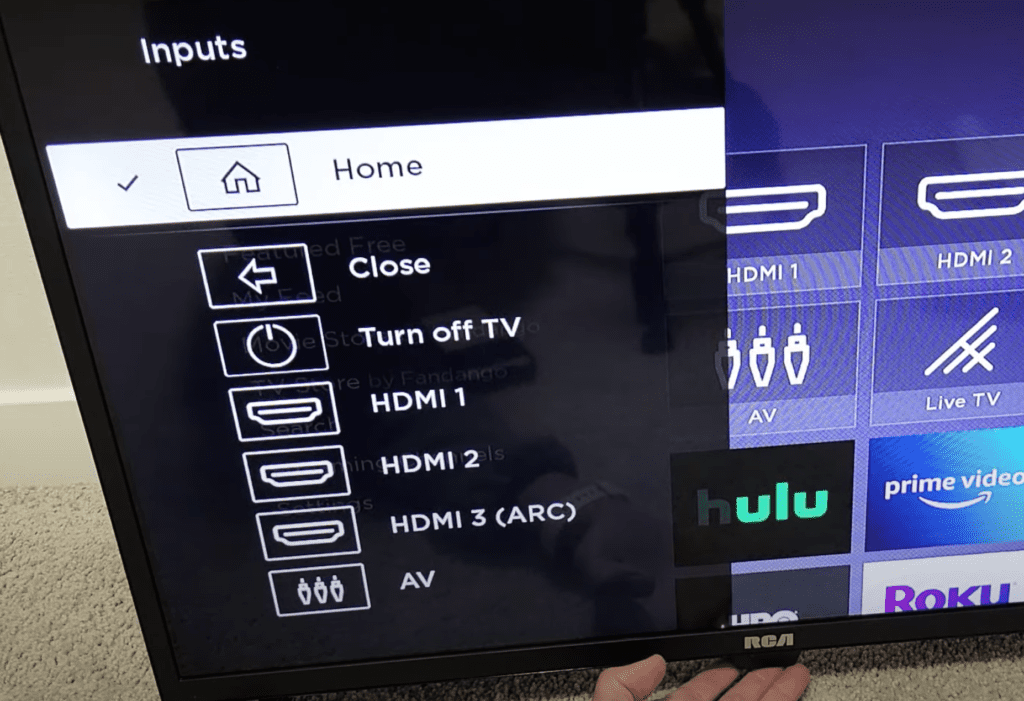
- click the main button once (if you have one button, click it. If you have several, click the one in the middle)
- this should bring up a menu on the left hand side of your TV
- click the main button again to move down the menu
- keep clicking until you land on the input you want to change over to and then stop and wait
- your Roku TV should change inputs after 2 seconds
Use the Roku app as a temporary remote
If you lose your remote and don’t want to resort to using the hard-to-find buttons on your Roku TV to change the input, the Roku app is the way to go!
Simply type “Roku” into the Apple App Store or the Google Play Store, and download the Roku app to your smartphone or tablet.
Once it’s downloaded you’ll immediately be prompted to search for nearby Roku devices. Your Roku TV will automatically appear in the list. Go ahead and select it to connect.
(Note: make sure that your smartphone or tablet are on the same wireless network as your Roku TV. It can cause issues if you’re using different networks.)
Once your Roku TV is connected within the Roku app, you can use your phone as a remote!
Just follow the exact steps I detailed above to change the input on your Roku TV (HOME > SETTINGS > TV INPUTS > and select SET UP INPUT on the input you want to switch to).
Roku TV missing HDMI 1, HDMI 2 or HDMI 3
If you’re on the home screen of your Roku TV and there are inputs missing/not included, there are two ways to fix this.
The first is the “SET UP INPUT” method I detailed above (jump back up and re-read that section if needed).
The other way to resolve this is to simply plug a device into that particular input on the back of your Roku TV.
So for example, if you have an Xbox, first connect it to the HDMI 3 port on your TV. Once it is connected, your Roku TV will automatically detect it and add the HDMI 3 input to your home screen.
Unless you’ve manually set up an input, or plugged the device into that particular input, you won’t see the input listed on the home screen of your Roku TV!
Conclusion
To change the input on most TVs, you simply need to click SOURCE on the remote and toggle to the input you desire. But Roku TVs are a bit trickier. To change the input on a Roku TV you need to:
- Go to Home
- Then Settings
- Select TV Inputs
- And finally Set Up Input
You can then rename the input to reflect the exact device that’s connected.
If you don’t have a Roku remote, you can still change the input by using the buttons on the TV itself or by downloading the Roku app.
Hopefully you found this helpful. If you have any issues following these instructions, please leave me a comment below and I will do my best to help!