How to Cast Oculus (Meta) Quest 2 to Roku TV (In Seconds!)
Seeing the world from inside your Oculus (Meta) Quest 2 headset can be an incredibly immersive experience.
But what about the rest of the people in the room who are watching you flail around, without ever seeing what you’re flailing at?
Luckily you can let them in on the action by casting everything that’s happening in virtual reality to your Roku TV.
How to cast Oculus (Meta) Quest 2 to Roku TV
To cast Oculus (Meta) Quest 2 to Roku TV first ensure that your Chromecast and Quest 2 on are the same WiFi network. Next, change your Roku TV’s input/source to Chromecast (HDMI). Finally, turn on your Quest headset and then go to Sharing > Cast. Finally select your Roku TV.
It’s as simple as that.
NOTE: No Roku TVs come with Chromecast built in, so you’ll need a separate Chromecast device in order to make this work. But if you don’t have Chromecast, there is an easy work around – you can cast to your phone or laptop first, then mirror your phone/laptop to your Roku TV. Details below.
1. Confirm Chromecast and Quest 2 are on the same WiFi network
Casting from Oculus (Meta) Quest 2 to your Roku TV only works if your Chromecast and Quest 2 devices are connected to the same network.
Almost all routers now have what’s called “dual-band” radio signals. This gives you the ability to connect devices in your home to two different networks (either the 2.4 GHz or 5.0 GHz network).
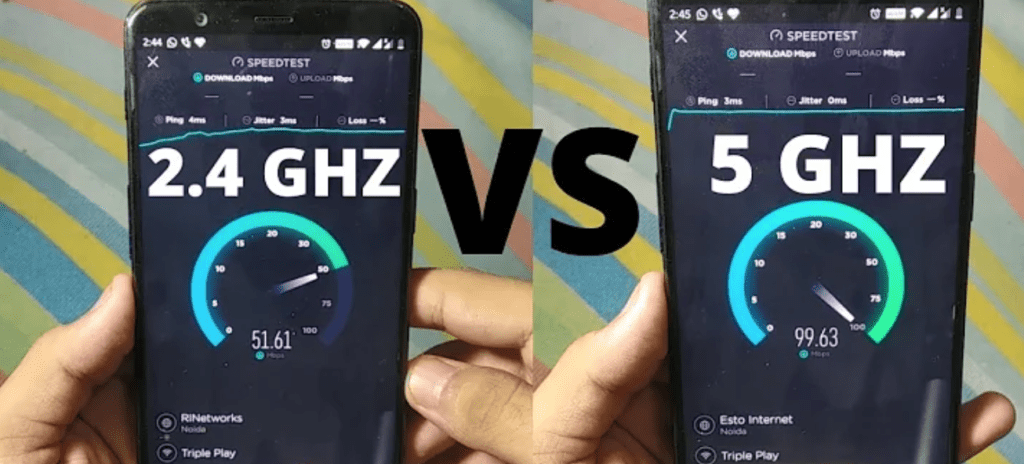
Having two separate networks allows for faster speeds and flexibility. The dual-bands avoid connection issues and interferences and provides more stability overall.
However, this can cause issues when attempting to cast your Quest 2 to Roku TV.
For example, if your Chromecast is connected to the 2.4 GHz network and your Quest 2 is connected to the 5.0 GHz network, casting won’t work!
It only takes a few seconds, so just check and confirm that your Chromecast and your Quest 2 devices are on the exact same WiFi network.
Check your Chromecast WiFi network
To check which WiFi network your Chromecast is connected to:
- Open up the Google Home app on your smartphone (NOT the Chromecast app)
- Note: make sure your smartphone is also connected to the WiFi network you want to connect your Chromecast to!
- Then select your device from within the app
- Tap on Settings (the gear icon) at the upper right-hand corner
- Finally select Wi-Fi
From here you should see the “Network name” your Chromecast is connected to. If it’s not connected to the correct network, you’ll have to click “Forget” and the re-setup your device.
Now we just want to confirm our Oculus (Meta) Quest 2 is connected to this same network.
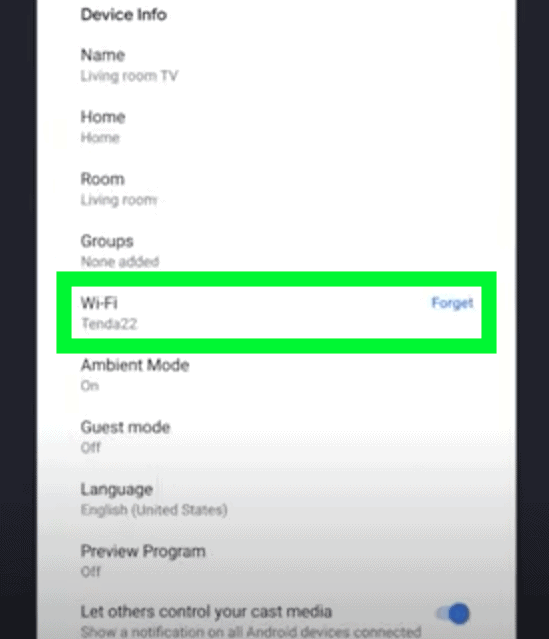
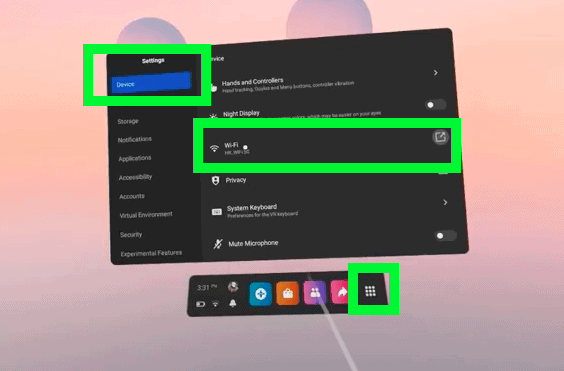
Checking your Oculus (Meta) Quest 2 WiFi network
To check which WiFi network your Oculus (Meta) Quest 2 is connected to:
- Select Apps on the home screen
- Then go to Settings and Device
- Finally select Wi-Fi
From here you should see the “Network name” your Oculus Quest 2 is connected to.
2. Change Roku TV Input to Chromecast (HDMI)
Ok, now that we’ve confirmed both your Oculus (Meta) Quest 2 and your and Chromecast are on the same WiFi network, we want to select the input that your Chromecast is connected to.
To change the input of your Roku TV simply:
- Go to HOME
- Then SETTINGS
- Select TV INPUTS
- And finally SET UP INPUT on the input you want to switch to.
This adds the input as a tile on your Roku home screen. Now all you have to do is go back to the home screen and click on this tile to change inputs!
But before you go back to HOME, you should rename the input so it’s easier to find in the future.
So for example, if your Chromecast is connected to HDMI 2, you should RENAME the HDMI 2 input to “Chromecast” and add this as a tile to your Roku home page.
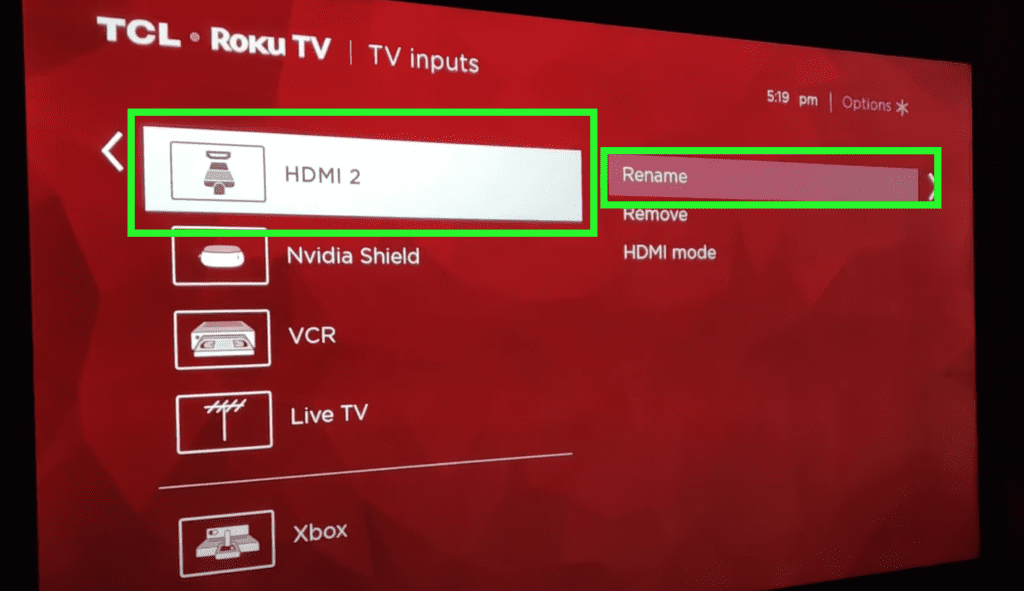
The next time you use your Roku, you just have to go to HOME > CHROMECAST in order to change the input to HDMI 2 (aka your Chromecast)!
3. Cast Oculus (Meta) Quest 2 to Roku TV
Alright, at this point your Chromecast and Oculus (Meta) Quest 2 are on the same WiFi network and your Roku TV is on the correct input/source (it’s showing your Chromecast).
Now it’s time to cast!
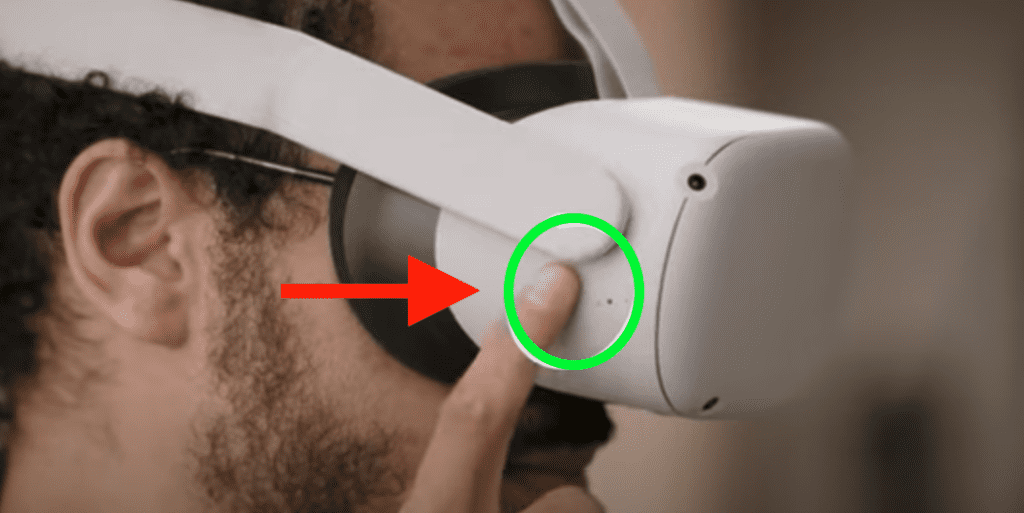
1) Turn on your Oculus (Meta) Quest 2 by pressing the power button on the right side of the headset.
2) While on the home screen, select Sharing followed by Cast.
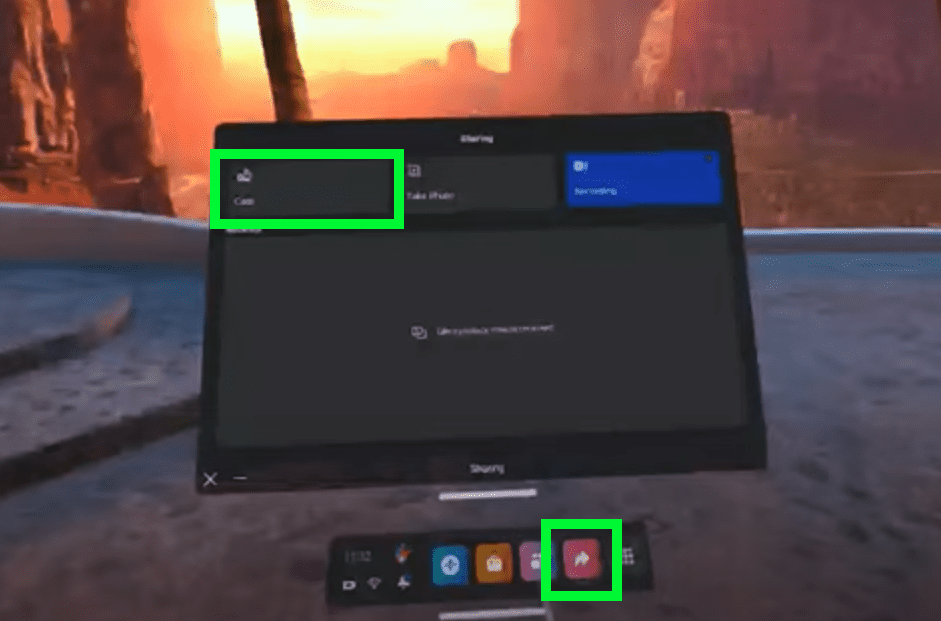
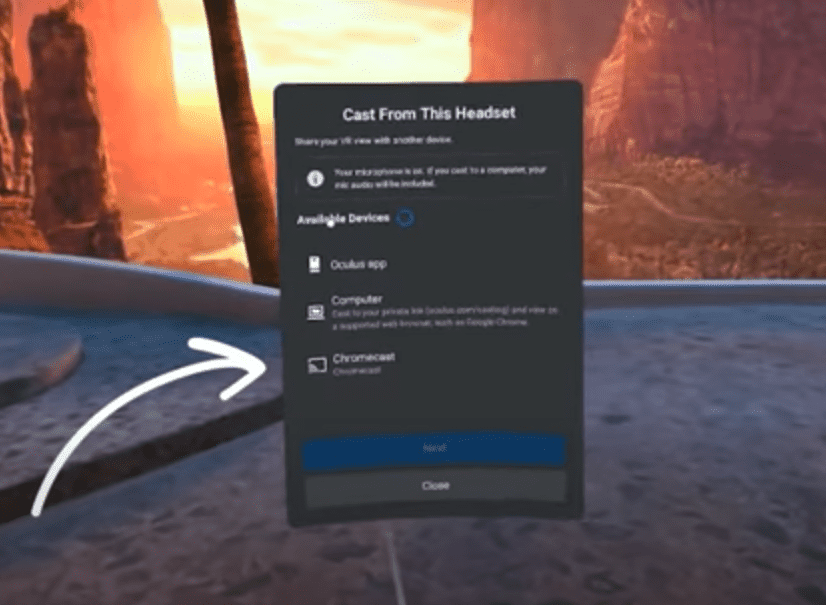
3) Finally a window will pop up with all available devices that you can cast to. Select your Roku TV and your Oculus Quest 2 should automatically connect.
You now should see your Oculus (Meta) Quest 2 mirrored on your Roku TV!
How to cast Oculus (Meta) Quest 2 to phone then mirror to Roku TV
If you don’t have a Chromecast device, you can still cast your Oculus (Meta) Quest 2 to your Roku TV.
First you’ll cast your Quest 2 to your phone, then you’ll mirror your phone to your Roku TV.
1. Casting Oculus (Meta) Quest 2 to your phone
To cast your Oculus (Meta) Quest 2 to your phone:
- Download and open up the Meta Quest app
- Power on your Oculus Meta Quest 2 headset
- Press the Oculus button on the right touch controller to bring up the Menu
- Go to Sharing and then Cast
- This time select the option for the Oculus app
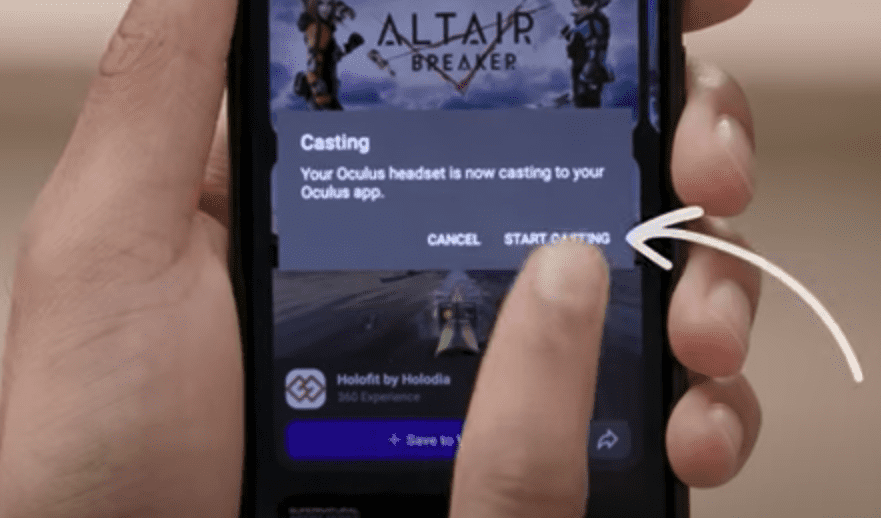
- A prompt will appear in the Meta Quest app on your phone. Select “Start Casting“.
2. Mirror your phone to your Roku TV
Ok, now that we have your Quest 2 casting to your phone, we simply need to mirror your phone to your Roku TV.
NOTE: Make sure your phone is on the same WiFi network as your Roku TV and your Quest 2!
Mirroring using an Apple device
First, we want to ensure Airplay is enabled on your Roku TV.
To check, simply click Home on your Roku remote and then open Settings > Apple AirPlay and HomeKit, and make sure AirPlay is toggled ON.

If you recently reset your TV to default settings it might have disabled AirPlay.
NOTE: if you don’t see the Apple and AirPlay option, you will likely need to do a software update on your Roku TV or device. If you don’t see it after the update, your Roku TV may not be compatible with AirPlay.
Now that we have Airplay turned ON, it’s time to mirror our Apple device to our Roku TV.
Simply swipe down on the screen of your Apple deice from the top right hand corner. This will open up your Control Center where you’ll find a small picture-in-picture icon (located right next to the lock button). Click on it.
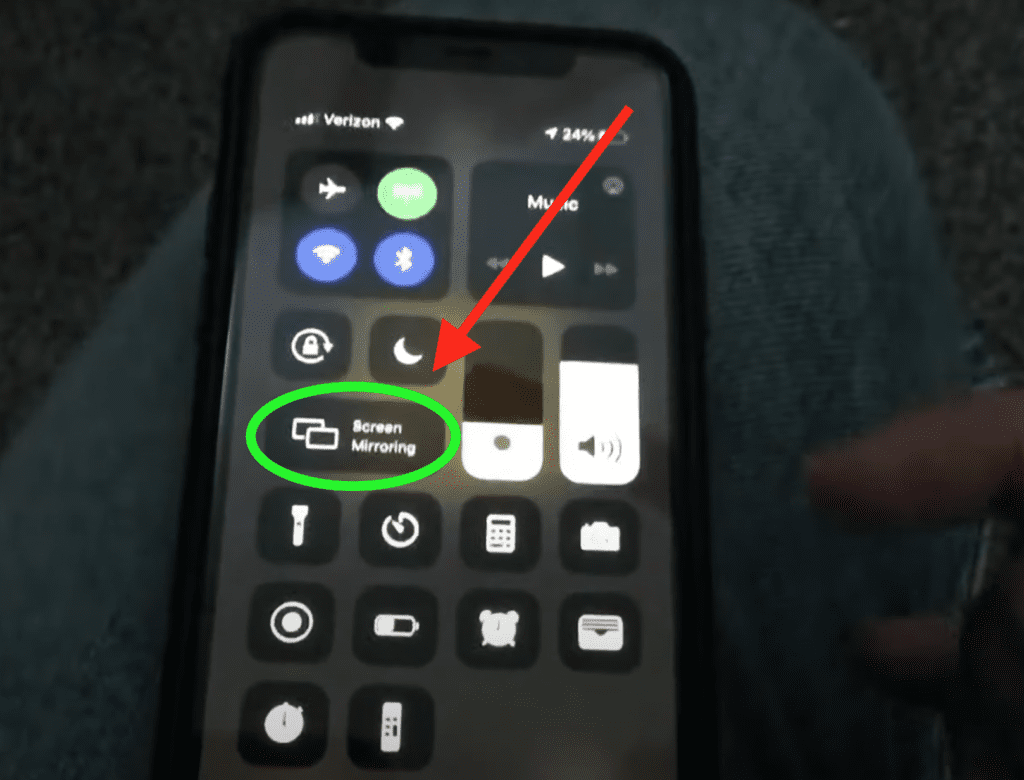
This will open a Screen Mirroring menu on your iPhone with a list of all nearby devices. You should see your Roku TV on the list. Click on it!
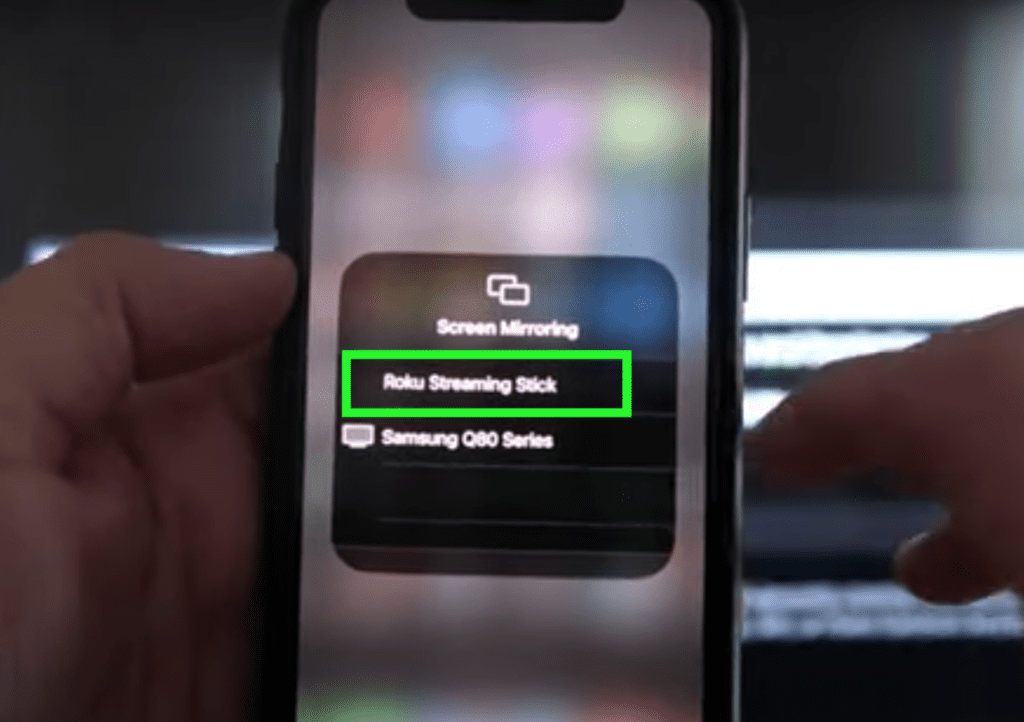
Enter your PIN, if one is required. And that’s it. Your iPhone or iPad is now casting to your Roku TV.
Mirroring using a non-Apple device
You can also cast to your Roku TV using a non-Apple device! Many Roku TVs allow you to cast to them using the screen mirroring feature on your device.
Enable screen mirroring on Roku TV
First, you want to ensure the screen mirroring feature is enabled on your Roku TV.
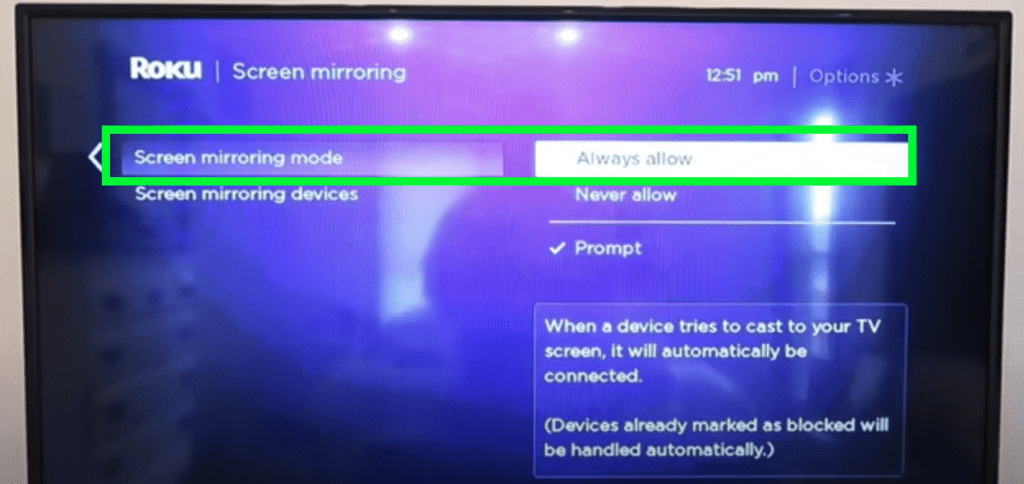
To check, click HOME on your Roku remote. Scroll down to SETTINGS > SYSTEM > SCREEN MIRRORING.
Make sure Screen mirroring mode is set to Always allow or Prompt!
Enable screen mirror feature on your device
Next, let’s enable screen mirroring on your non-apple device.
The screen mirror feature is named differently for each phone/tablet brand. So be on the look for one of the following on your device:
- Smart mirror
- Mirroring
- Miracast
- Wireless display
- Mirror share
- Screencast
- Screen share
- Multi screen
Find this feature setting on your device and enable it. Your device should begin scanning for available devices that it can cast to. You should see your Roku TV included in this list. Select it to start casting.
Finally, a permission window should automatically appear on your Roku TV. When it does, select ALLOW.
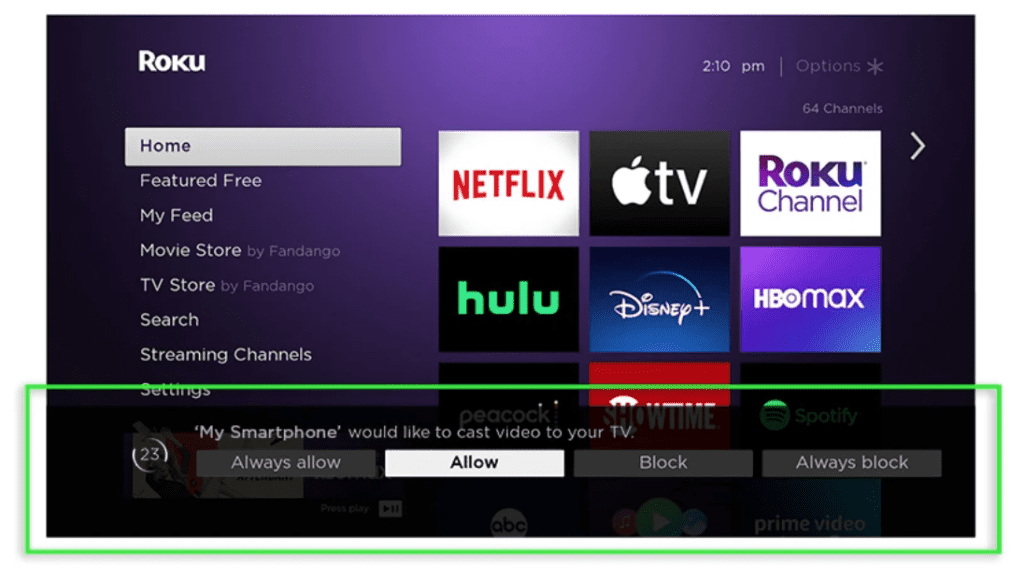
That’s it. Your device should be successfully casting to your TV!
How to cast Oculus (Meta) Quest 2 to your laptop then mirror to Roku TV
If you’re having trouble casting your Oculus (Meta) Quest 2 to your Roku TV and/or your phone, you can cast to your laptop instead.
First you’ll cast your Quest 2 to your laptop, then you’ll mirror your laptop to your Roku TV.
NOTE: Make sure your laptop is on the same WiFi network as your Roku TV and your Quest 2!
1. Casting Oculus (Meta) Quest 2 to your laptop
To cast your Oculus (Meta) Quest 2 to your laptop:
- On your laptop, open up oculus.com/casting
- Then login with the same credentials as your Meta Quest 2
- Power on your Oculus Meta Quest 2 headset
- Press the Oculus button on the right touch controller to bring up the Menu
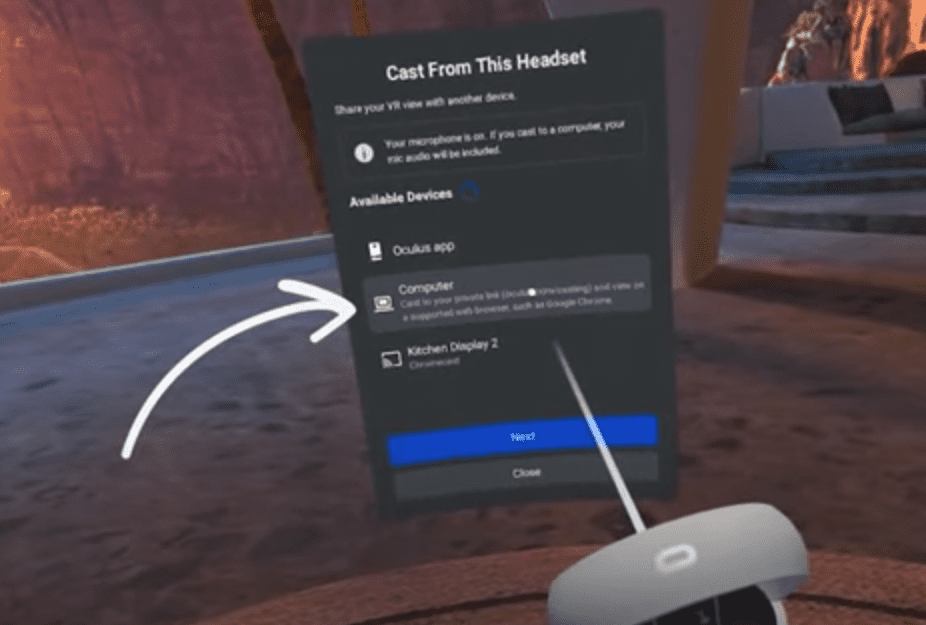
- Go to Sharing and then Cast
- This time select the Computer option
2. Mirror your laptop to your Roku TV
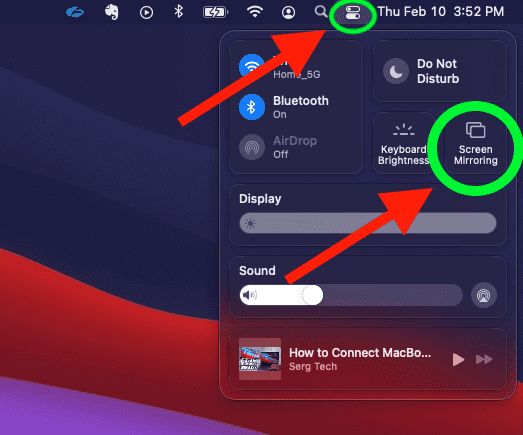
If you’re trying to cast to Roku TV using a Mac, just look for the Control Panel icon in the top navigation bar of your laptop and click on it.
Then select Screen Mirroring, followed by your Roku TV.
Troubleshooting
If you’re having trouble casting from your Oculus (Meta) Quest 2 to your Roku TV, try the following troubleshooting steps.
Restart devices
First, the easiest thing to do is to simply power off all your devices, wait 60 seconds, and then power them back on.
To reset your Roku TV, start by unplugging it from the wall for a minute.
The key here is to actually wait the FULL 60 seconds. Have a little bit of patience and make sure it’s been at least a minute before plugging it back in.
While the TV is unplugged, find and hold the power button on your Roku TV for 30 seconds. Make sure you are holding the power button on your TV, and not your remote.
This will help to drain any residual power left in the TV and allows the TV to soft reset itself. This is different than simply switching the remote on and off!
Check Quest 2 for software updates
Next, make sure you’re running the latest software on all of your devices.
To ensure you are running the latest software on your Quest 2, simply follow these steps:
- Power on your Oculus Meta Quest 2 headset
- Press the Oculus button on the right touch controller to bring up the Menu
- Go to Apps and then Settings
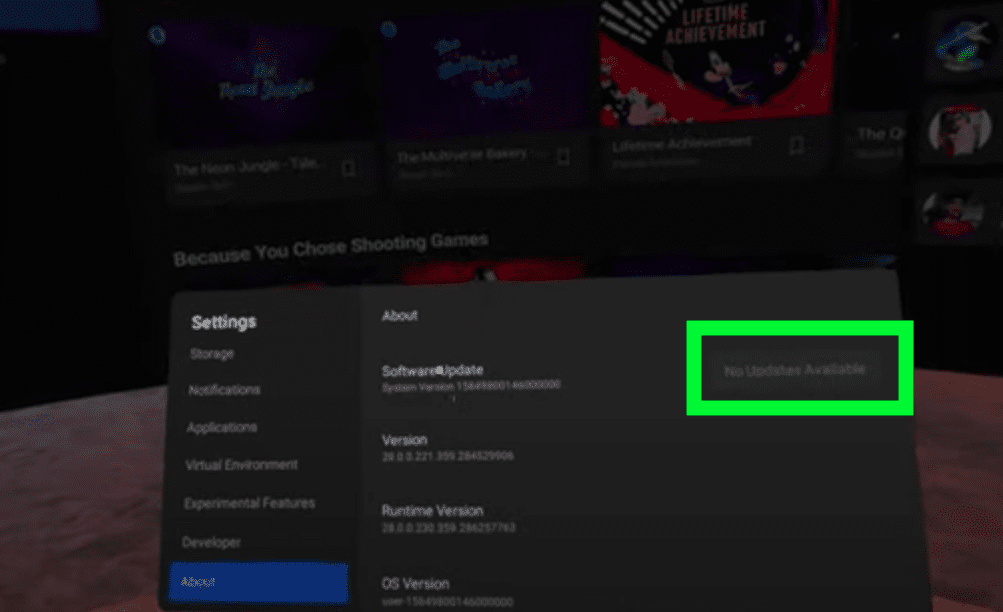
- Select About and finally Software Update
Note: If you are running the latest version, it will say “No Updates Available”.
Restart your WiFi router
If your router isn’t working correctly, you’ll have issues casting from your Oculus (Meta) Quest 2 to your Roku TV. Check your smartphone or other devices at home that use Wi-Fi.
If they’re not connecting, then your router isn’t working as it should.
Simply unplug the router for a few minutes and then plug it back in. It will take a few minutes for the router to completely reset, but once it’s back online, it should help your Roku connect with your Quest.
If you continue having internet connection problems, you’ll want to call your internet service provider’s customer service line for assistance.
Conclusion
To cast Oculus (Meta) Quest 2 to Roku TV follow these steps:
- Ensure that both devices on are the same WiFi network.
- Enable screen mirroring on Roku TV by pressing Home > Settings > System > Screen mirroring > Always allow.
- Finally, turn on your Quest headset and go to Sharing > Cast. Select Roku TV.
If you have having trouble casting try resetting all your devices, updating the software and finally resetting your WiFi router.
Note that you will need Chromecast in order for this to work. If you don’t have Chromecast, you can still cast to your phone or computer.